Minecraft-Inspired Baby Axolotl Free Crochet Pattern
May 29, 2026
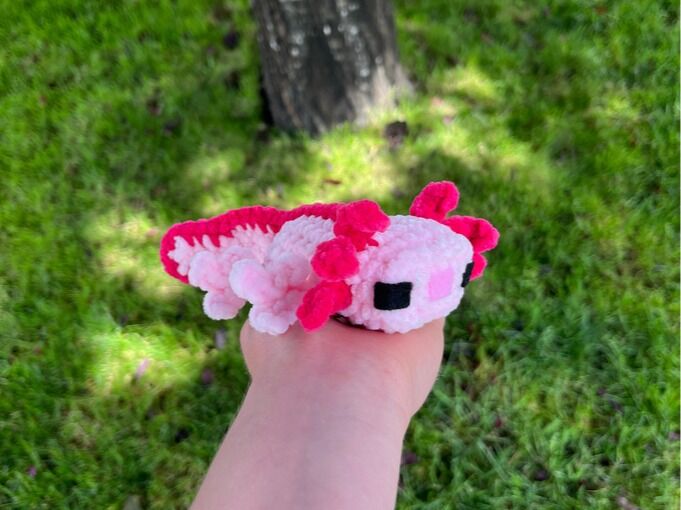
I'm so excited to share my newest crochet pattern design — and it's a free blog pattern! This little Minecraft-inspired baby axolotl is a no-sew make — the legs and frills are all crocheted right onto the body as you go, so there's no sewing pieces together at the end. The eyes and mouth are made from felt and then glued on.
📄 Prefer a printable PDF? You can grab the printable version of this pattern for easy offline access. Buy the Baby Axolotl PDF →
Pattern Notes
This pattern is written using U.S. crochet terminology.
Unless otherwise stated, all pieces are worked in continuous rounds.
Do not slip stitch or chain 1 at the end of each round unless instructed.
It is recommended to place a stitch marker in the last stitch of each round to help keep track of your rounds.
Abbreviations
SC — Single Crochet
DEC — Decrease
3INC — 3 SC in 1 stitch
SLST — Slip Stitch
CH — Chain
R — Round
FLO — Work in the Front Loops Only
BPO — Back Post Only
(#) — Number of stitches at the end of the round
FO — Fasten Off (cut yarn)
( )x6 — Repeat what's in parentheses that many times
Materials Needed
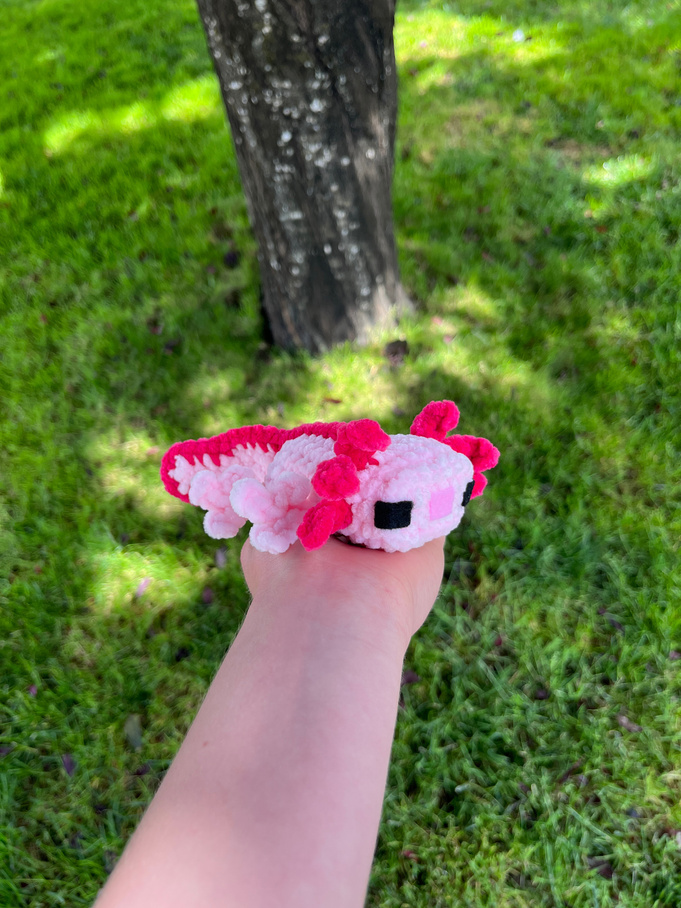
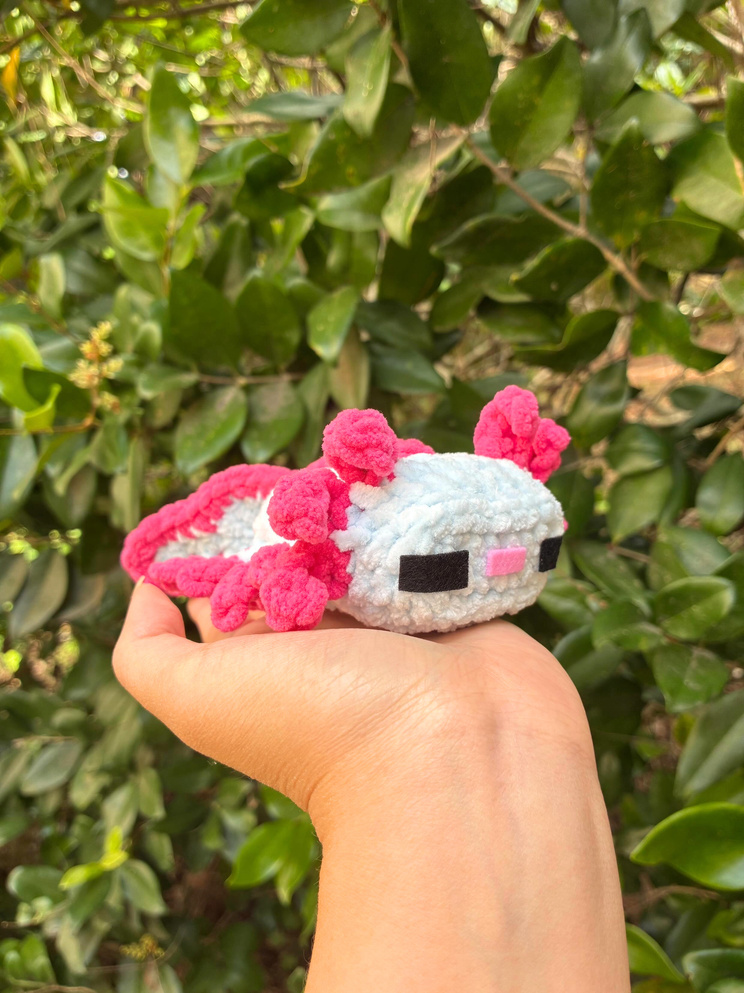
Yarn: You can use whatever yarn you want, but for the pink axolotl I'm using Premier Parfait Chunky in the colors Cotton Candy for the body color and Bright Pink for the frill and body & tail accent color. I used about 12 grams of yarn for the body color and just a little bit for the accent color(s).
Crochet Hook: You can use whatever size hook your yarn requires, but I'm using a 4.5 mm hook.
Scissors
Polyfil Stuffing
Cricut or Cutting Machine (Optional): for cutting the felt
Felt: I recommend using acrylic felt. You can buy it at many different stores but I got mine from Walmart.
Glue: I recommend using Aleene's Tacky Glue or hot glue to glue the eyes and mouth on.
Stitch Markers
Darning needle
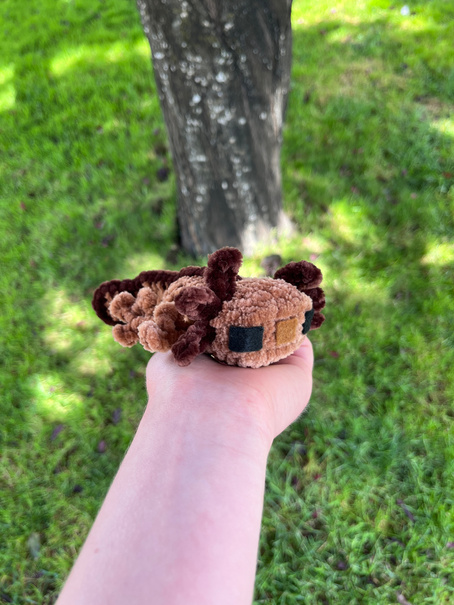
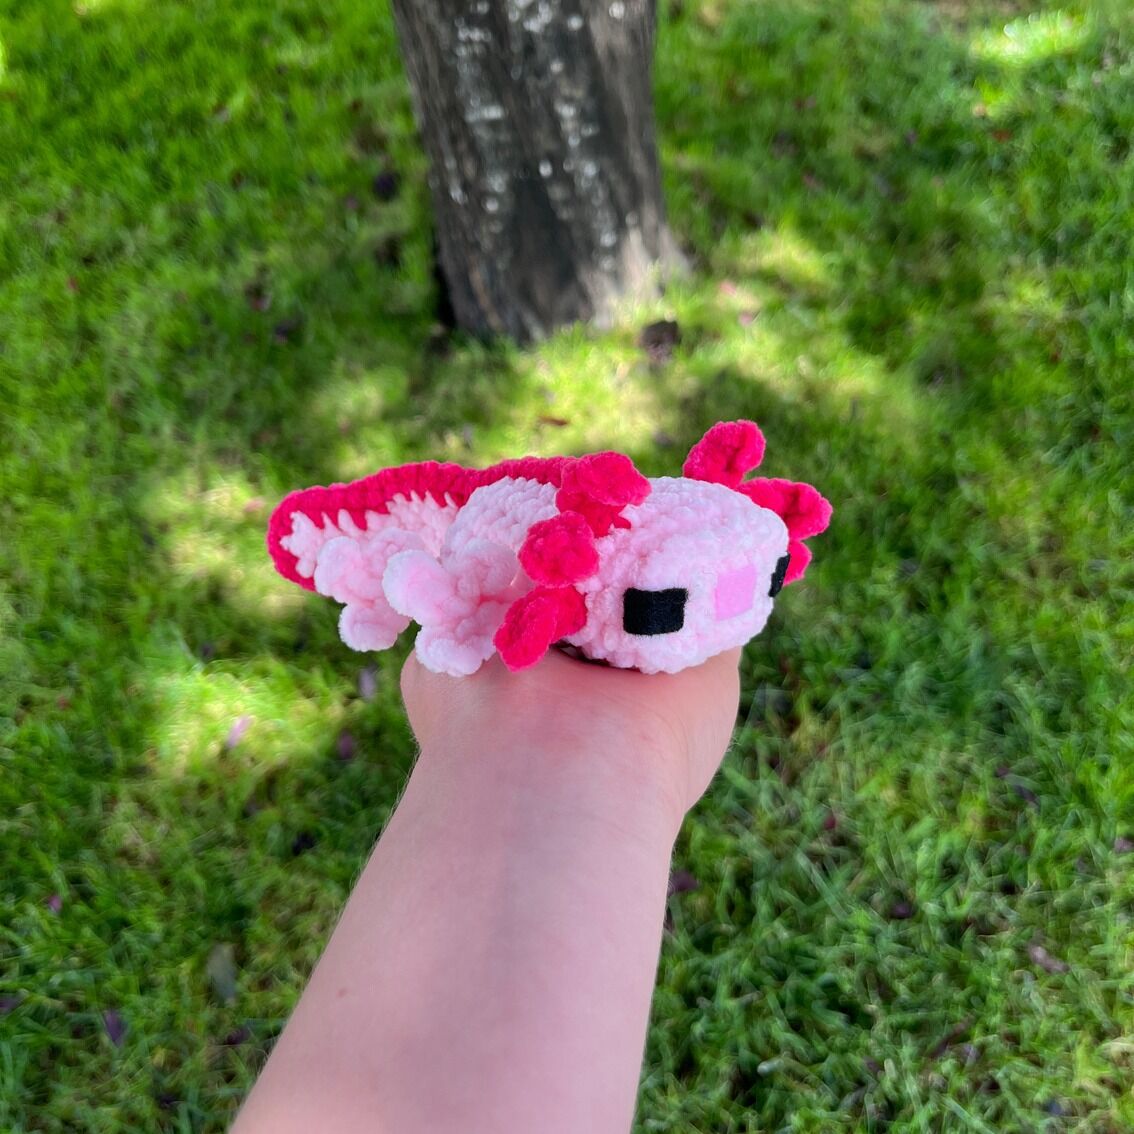
Final dimensions: The axolotls I made using Parfait Chunky and a 4.5 mm hook measure about 5.5 inches long (front of the head to the back of the tail), 3.5 inches wide (right frills and legs to the left frills and legs), and 1.5 inches tall (bottom of the axolotl to the top of the head).
Tips & Tricks
Color changing
To change yarn colors, work the last stitch of the old color until only 2 loops remain on your hook. Yarn over with the new color and pull it through both loops to finish the stitch. Continue crocheting with the new color.
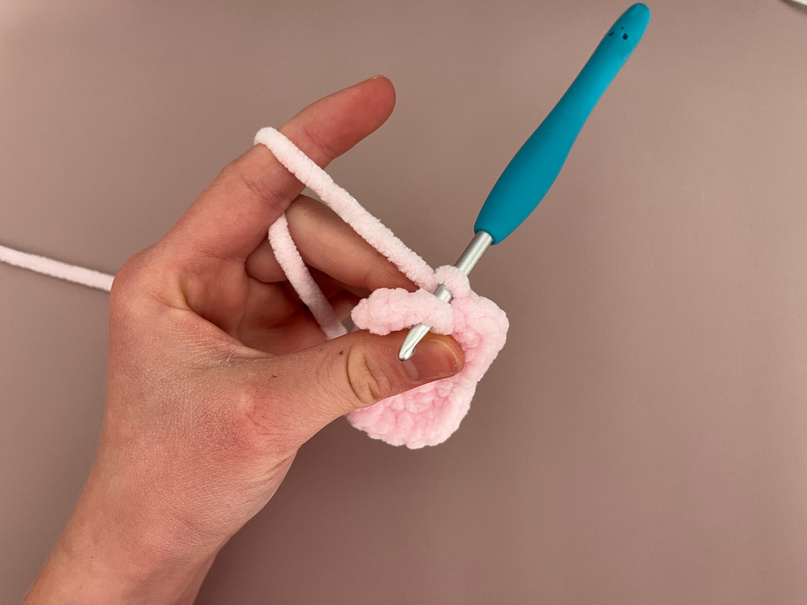
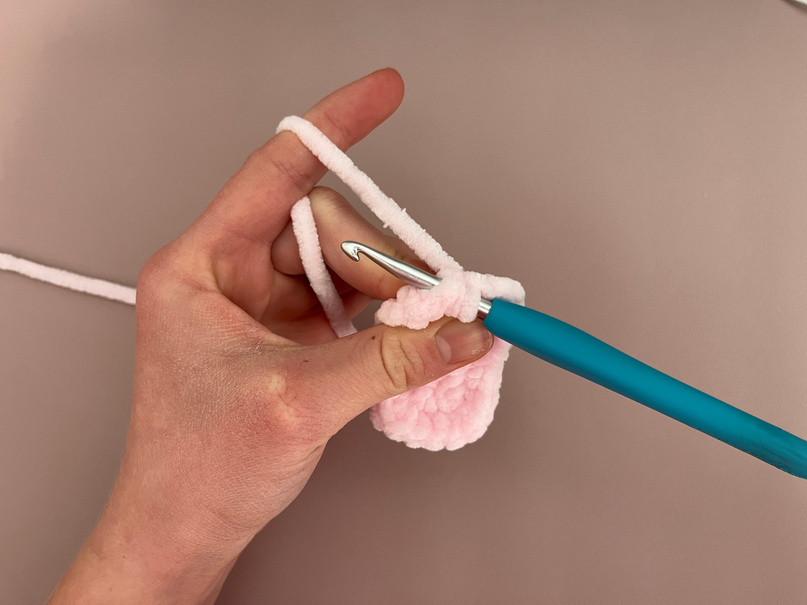
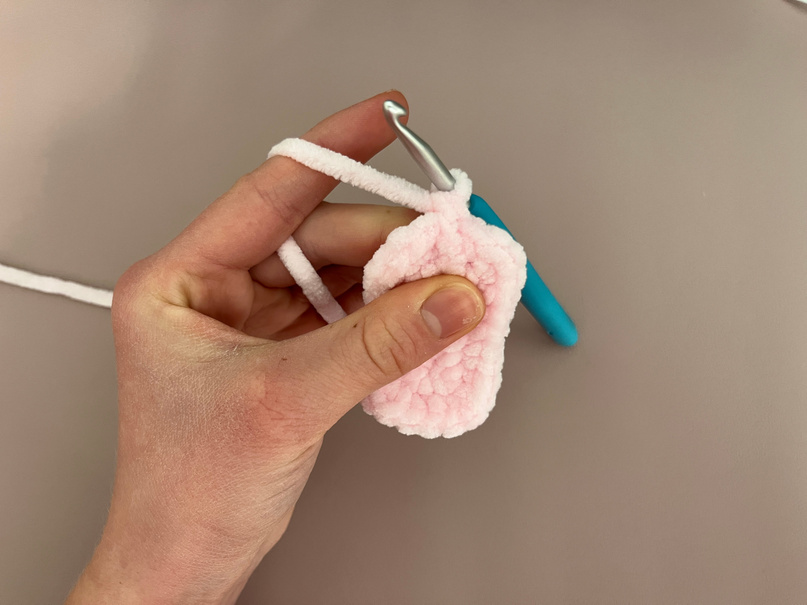
How to work in the Back Post Only (BPO)
To work in the back post only, insert your hook into the next stitch from behind, and then into the front of the next stitch. Pull up a loop and then pull through both loops. See photos below or watch this video tutorial.
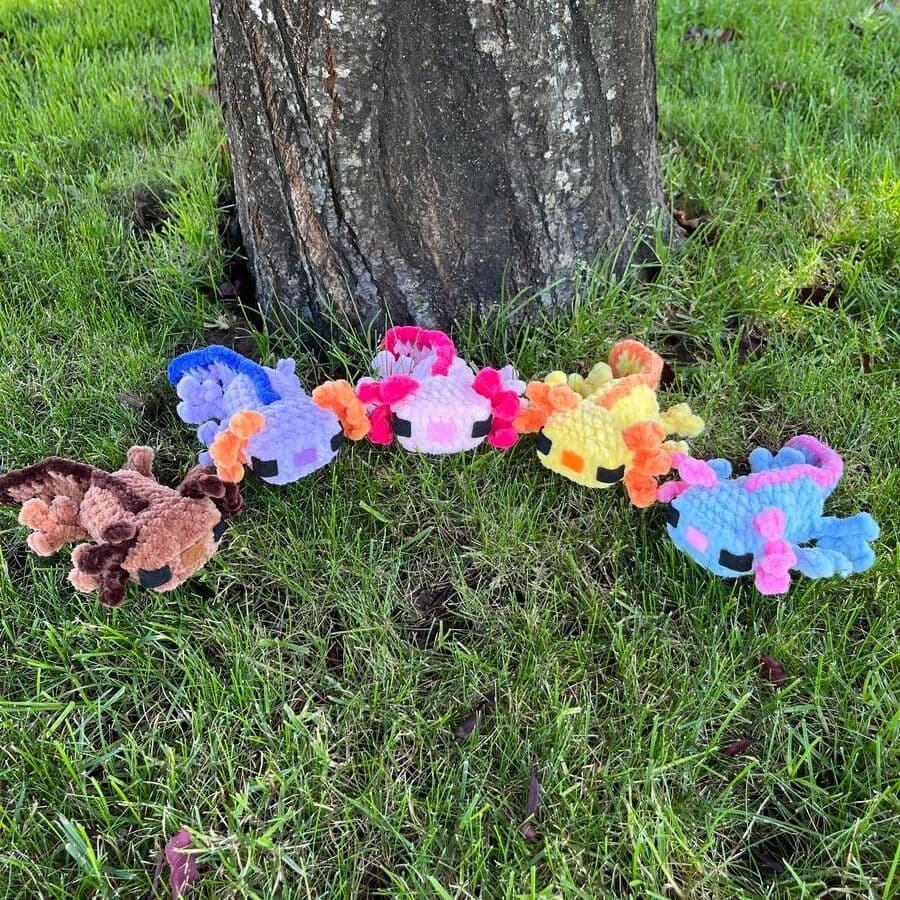
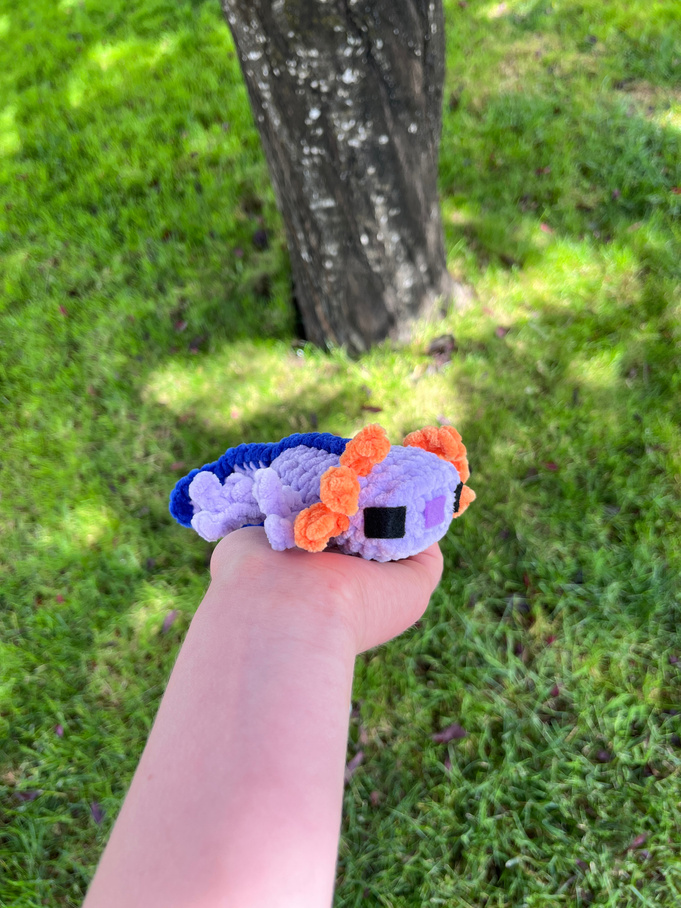
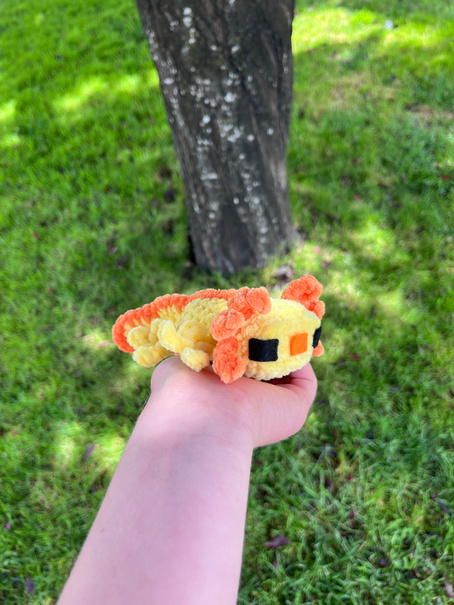
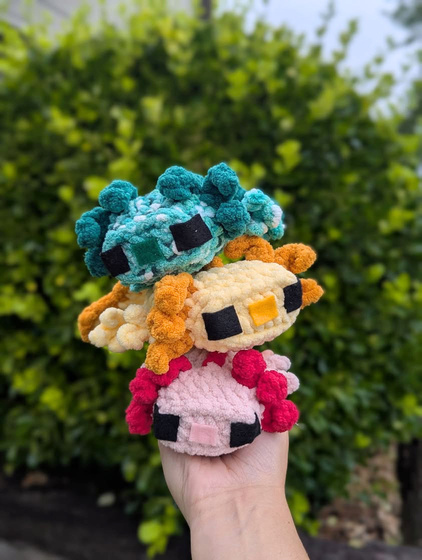
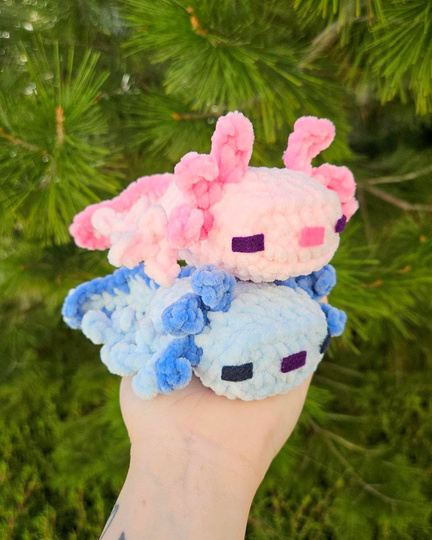
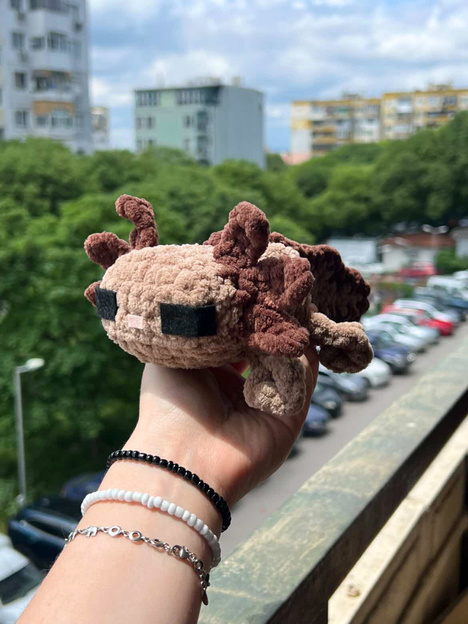
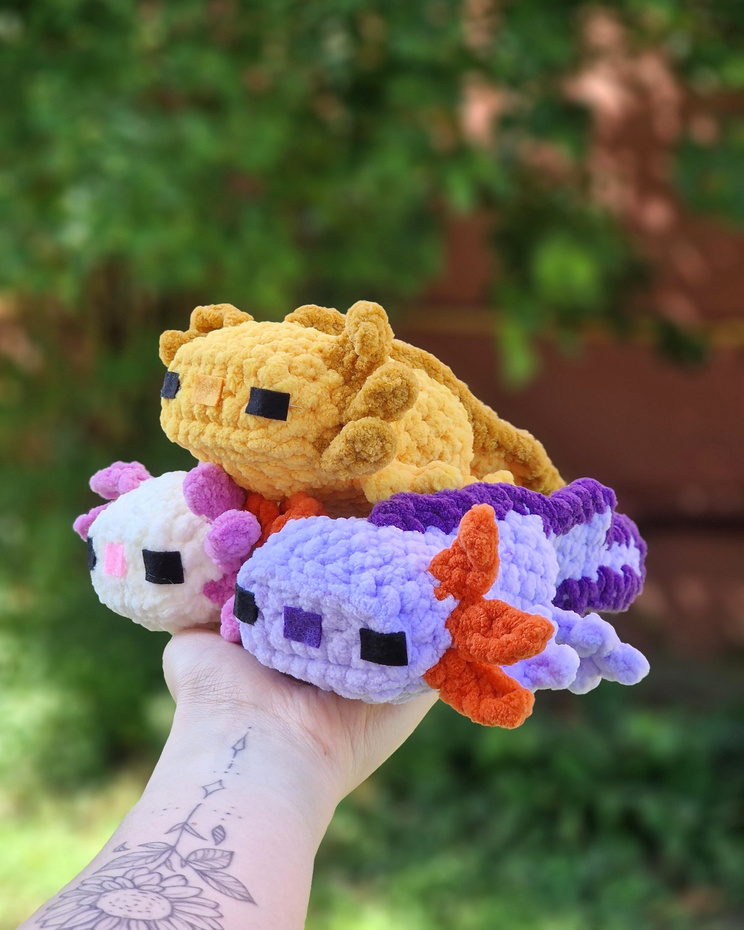
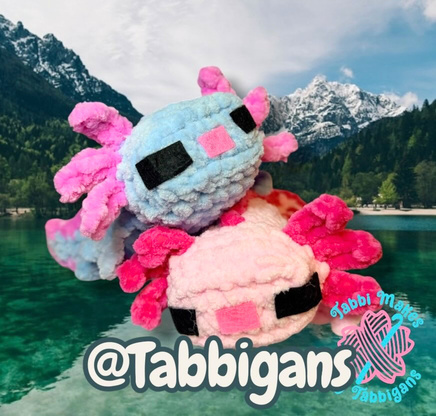
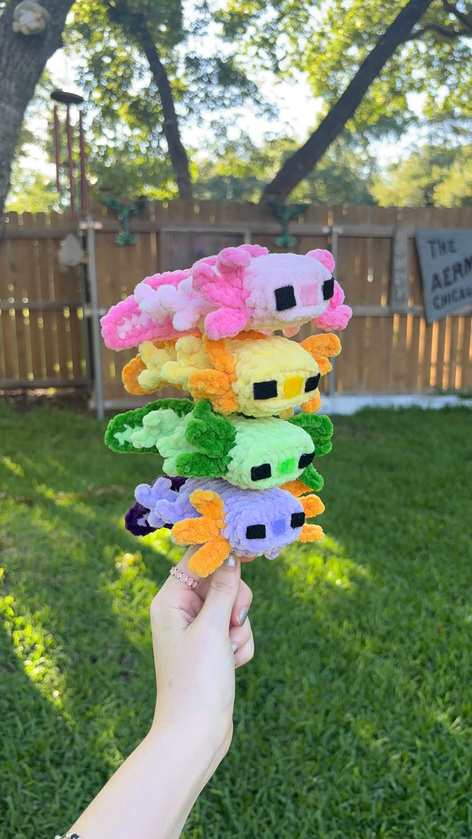
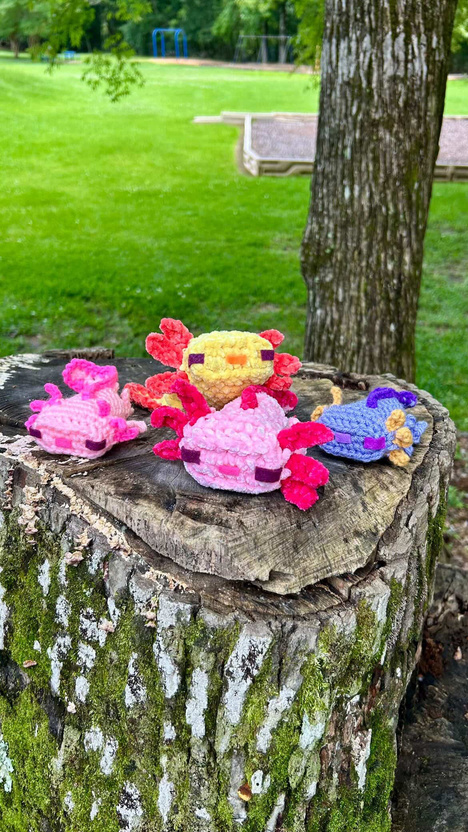
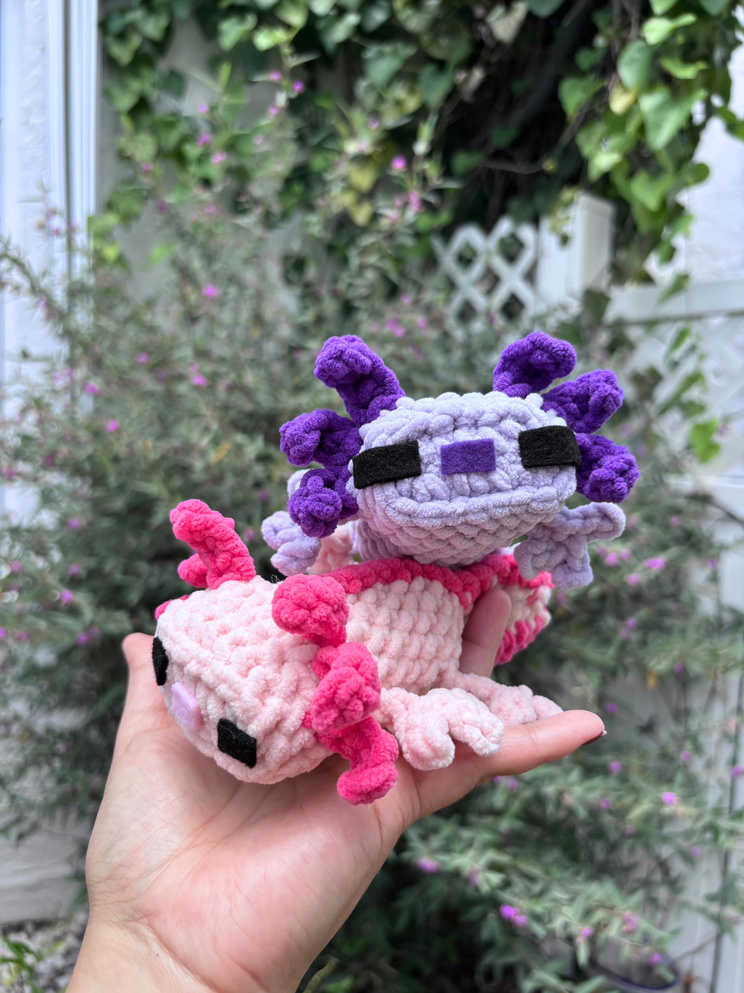
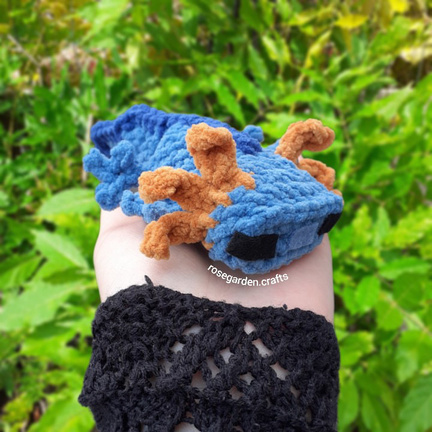
Color Inspiration
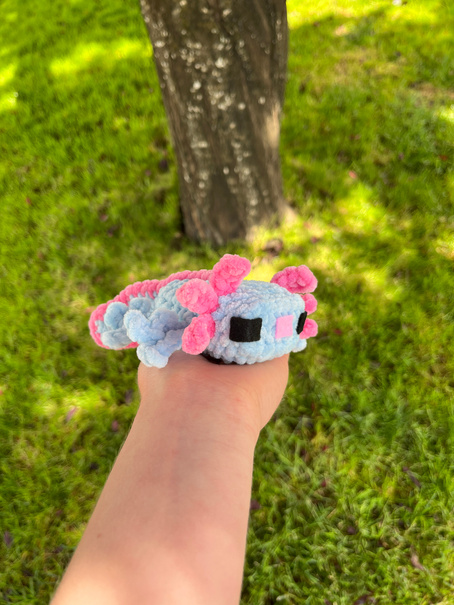
Here are five different color combos to inspire your own axolotl! Each shows the Parfait Chunky yarn colors and acrylic felt colors I used.
The Body (starting with the head)
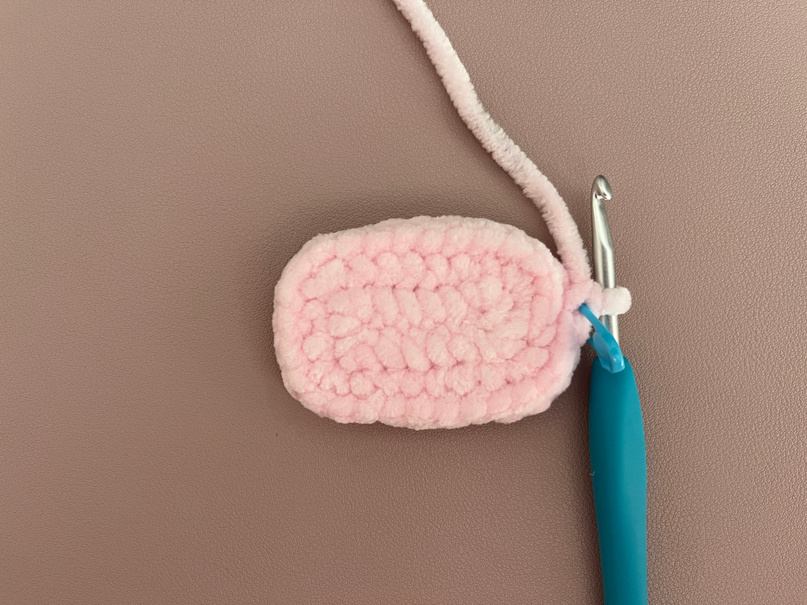
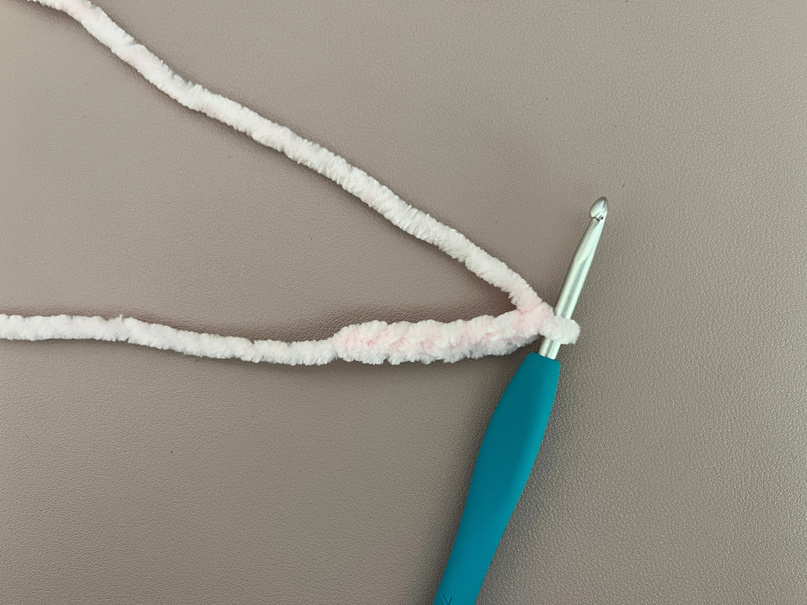
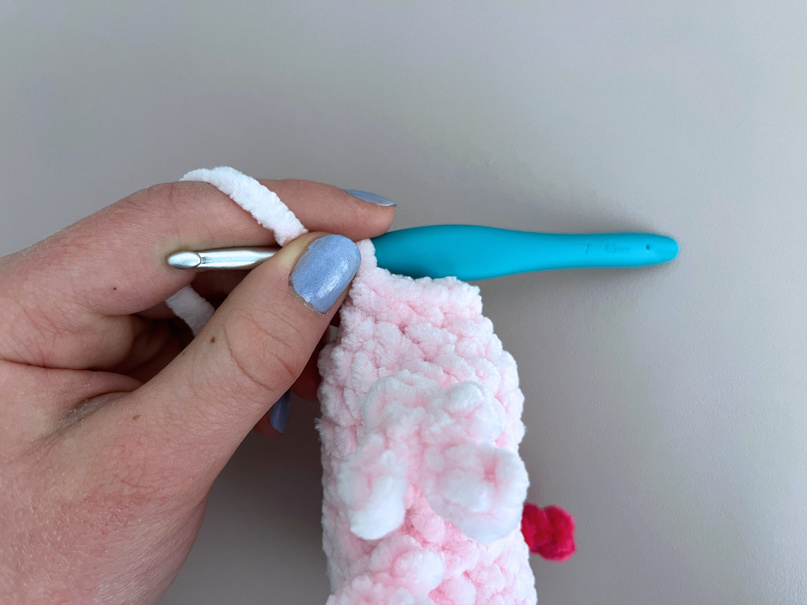
To start the head in R1, we are going to be making a chain. Then we will work down the first side of the chain and then down the backside of the chain. Also in R1, we will be doing the stitch 3inc, which means to simply place 3 single crochets in the same stitch. After that in R2, we are going to be working in the BPO (see Tips & Tricks above). Watch this video tutorial for both of these rounds.
Starting in the Body Color
R1: ch 7 and starting in the 2nd ch from hook, 3inc, sc 4, 3inc, rotate work and working on the backside of the chain, 3inc, sc 4, 3inc (20)
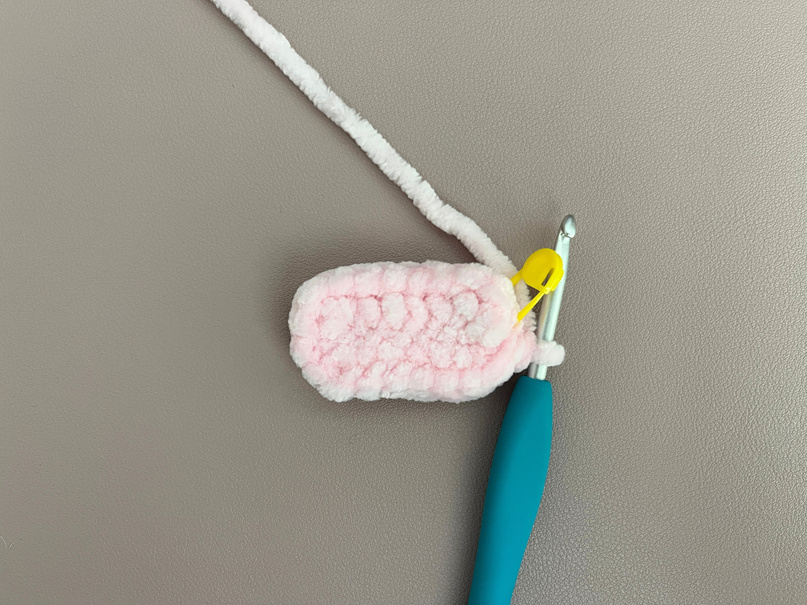
After you complete R1, there will be a little loop leftover from the beginning chain. I like to grab this loop using my crochet hook and pull it to the inside of the head. Watch this video tutorial for a visual on how to do this.
R2: Working in the BPO, sc around (20)
R3: sc around (20)
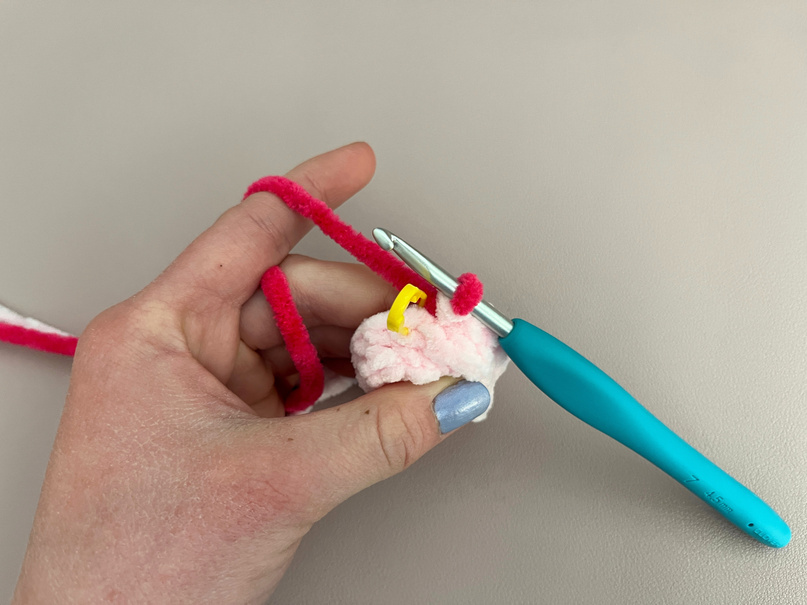
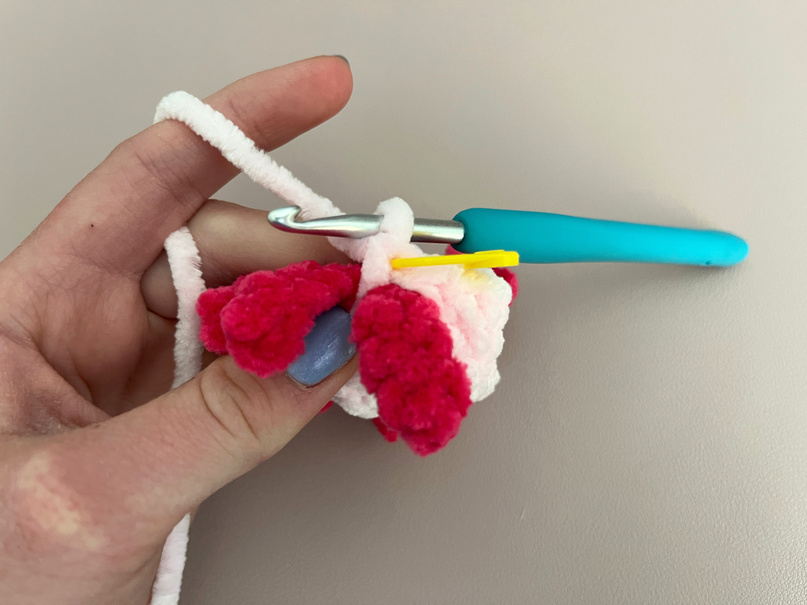
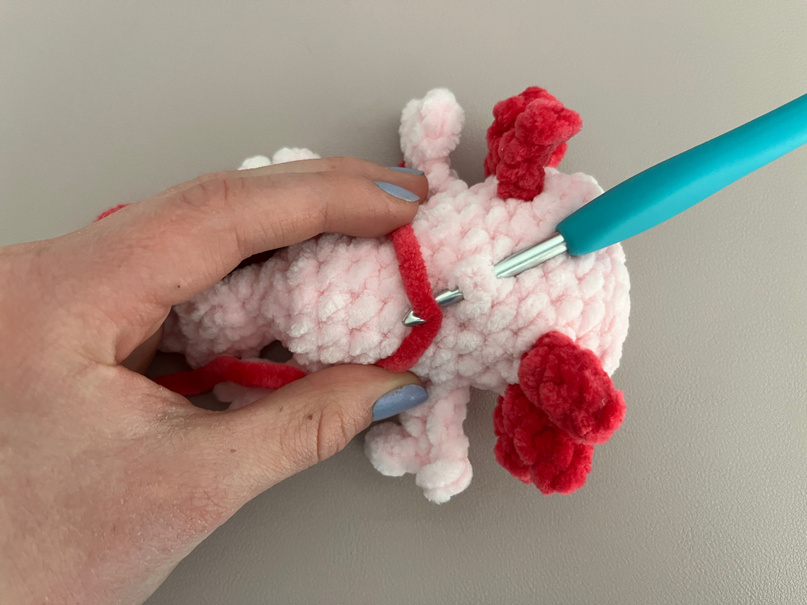
In this next round, we will be making the head frills. Color change to the Frill Color when bold, and color change back to the Body Color when not bold. You might have to adjust the placement of the frills due to different yarn, tension, or hook size.
R4: (Frill, sc into the next st) x3, sc 5, (Frill, sc into the next st) x3, sc 9 (20)
Frill: ch 5 and starting in the 2nd ch from hook, sc 4 down the ch.
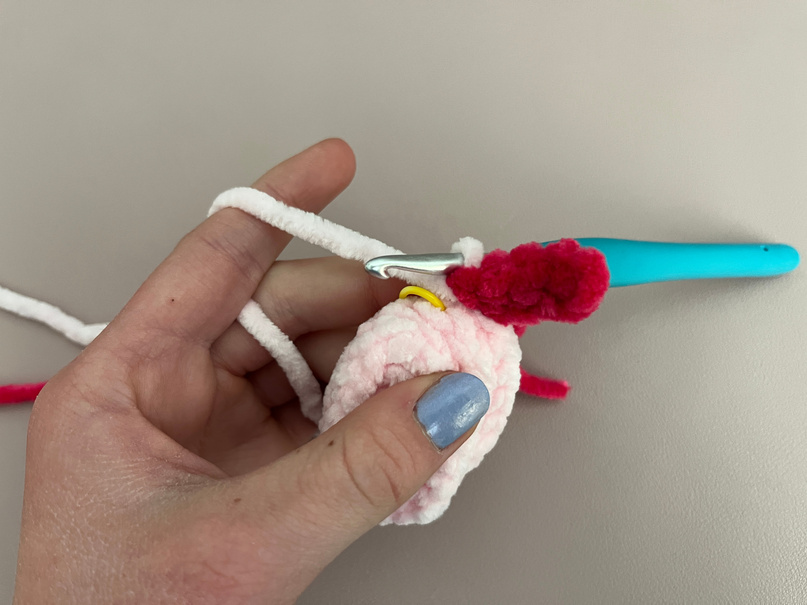
R5: sc around, pulling the frills to the front when crocheting around them (20)
R6: sc, dec, sc 4, (dec, sc) x2, sc 5, dec (16)
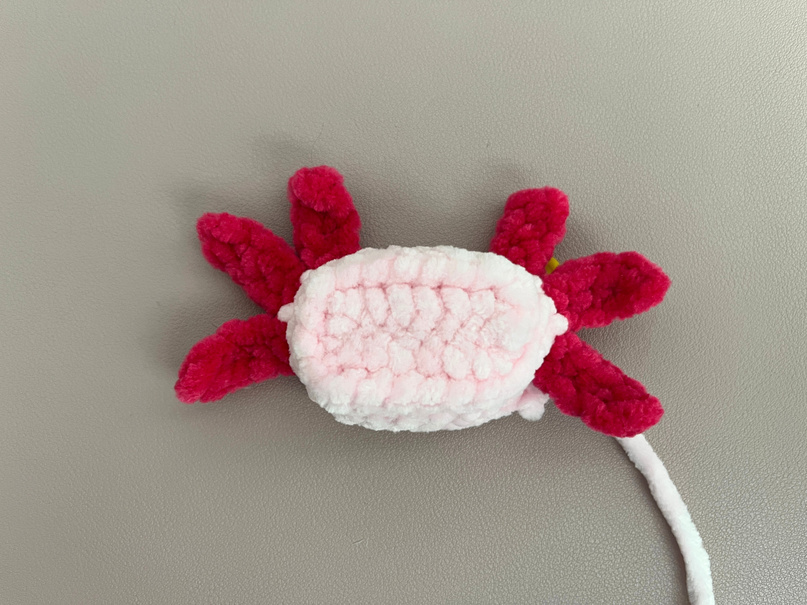
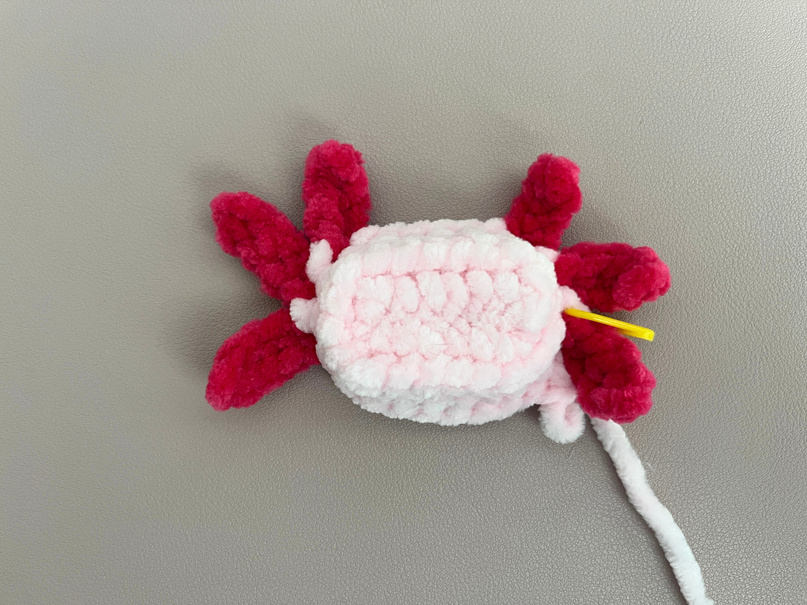
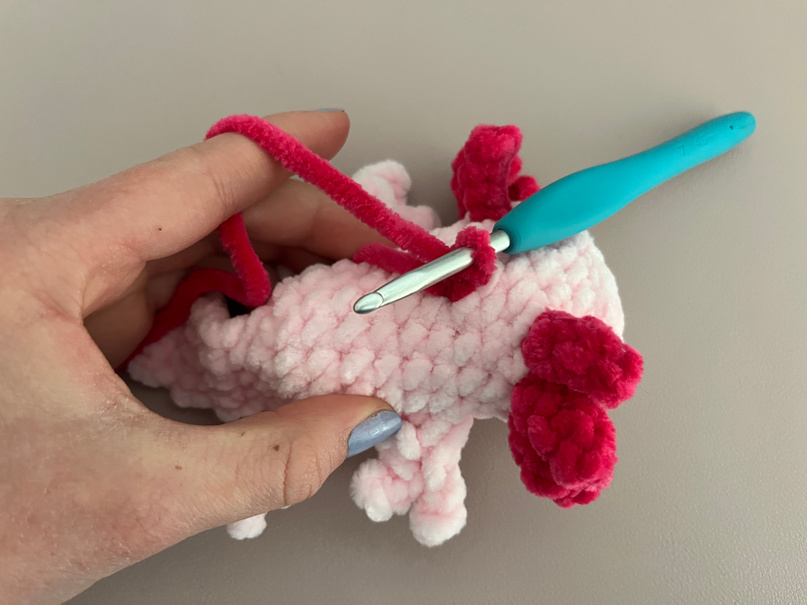
In this next round, we will be making the front legs. We will also be working in the FLO for the legs. If it's helpful, place a stitch marker on each of the leftover back loops. You might have to adjust the placement of the legs due to different yarn, tension, or hook size.
R7: Leg, slst in the next st in the FLO, sc 8, Leg, slst in the next st in the FLO, sc 6 (16)
Leg: ch 5 and starting in the 2nd ch from hook, slst 2, (ch 3 and starting in the 2nd ch from hook, slst 2, slst back into the 2nd slst you made on the main ch) x2, slst 2 down the rest of the ch.
R8: sc around, working into the back loops leftover from the previous round when you reach each leg (16)
Stop here and stuff the body/head. Continue stuffing as you go.
R9–11: sc around (16) (3 rounds)
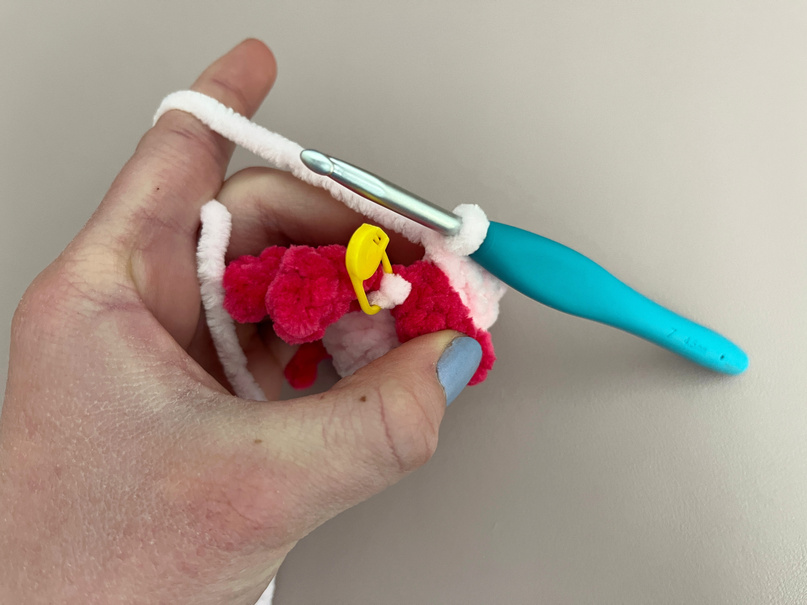
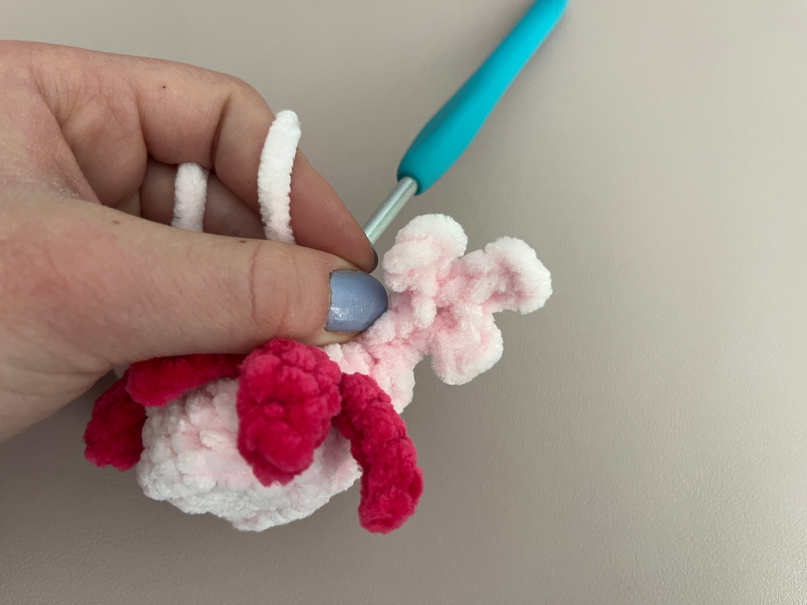
In this next round, we will be making the back legs. We will also be working in the FLO for the legs. If it's helpful, place a stitch marker on each of the leftover back loops. You might have to adjust the placement of the legs due to different yarn, tension, or hook size.
R12: sc, Leg, slst in the next st in the FLO, sc 8, Leg, slst in the next st in the FLO, sc 5 (16)
Leg: ch 5 and starting in the 2nd ch from hook, slst 2, (ch 3 and starting in the 2nd ch from hook, slst 2, slst back into the 2nd slst you made on the main ch) x2, slst 2 down the rest of the ch.
R13: sc around, working into the back loops leftover from the previous round when you reach each leg (16)
R14: dec x8 (8)
Stop here and stuff the rest of the body.
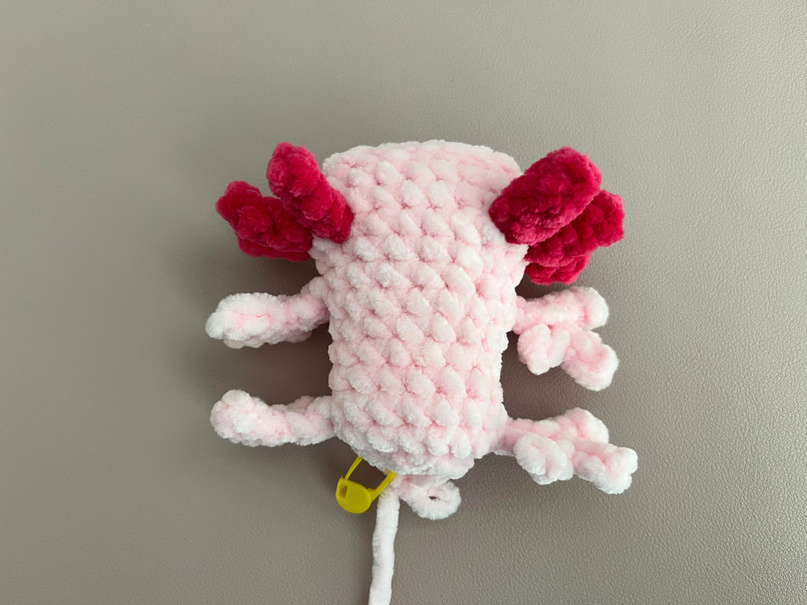
The Body (continued)
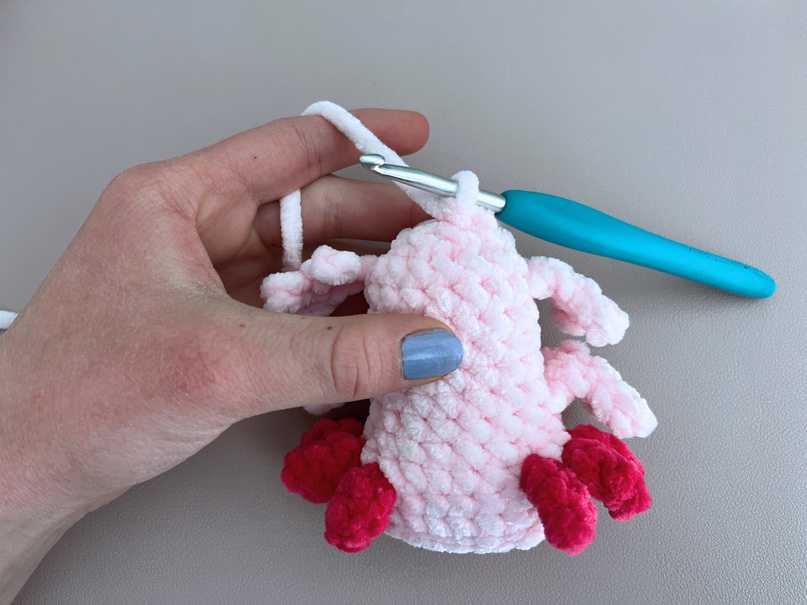
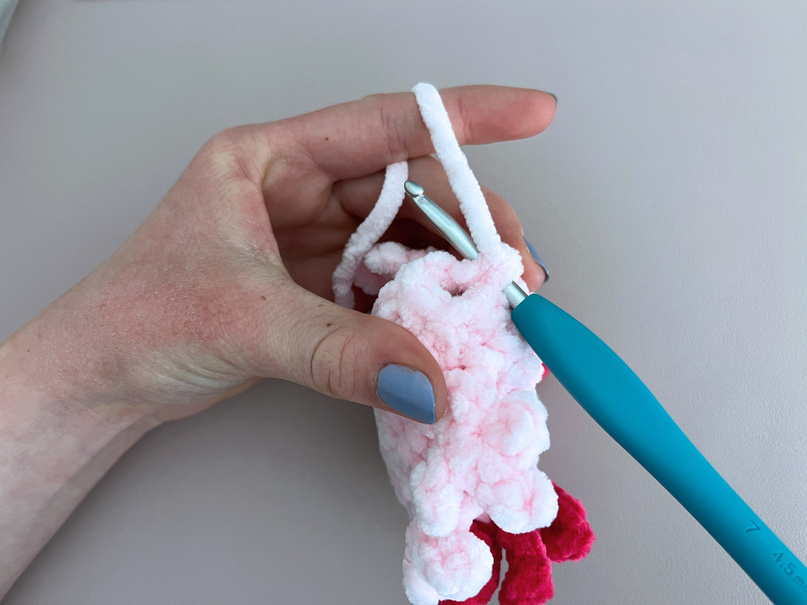
R15: sc 3 more or until you reach the center-top of the body. Fold in half and place 4 sc into both sides of the body. We will now be working in rows instead of rounds. Make sure to ch 1 and turn at the end of each row (4)
R16–19: sc 4 across (4) (4 rows)
R20: sc 2, leaving the last 2 stitches unworked (2)
R21–23: sc 2 across (2) (3 rows)
FO and leave about an inch long tail. We will crochet over this yarn tail later when we make the Body and Tail Accent.
The Body and Tail Accent
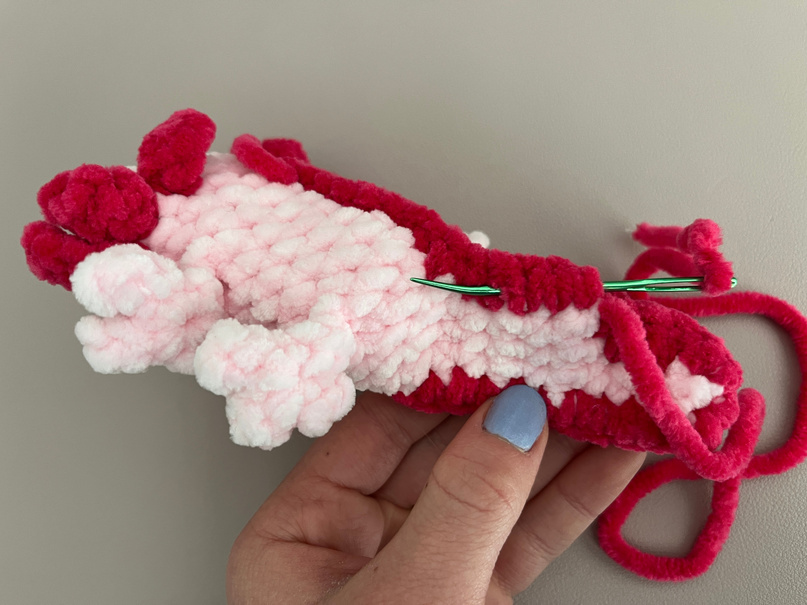
We will now be making the body and tail accent by surface crocheting on the top of the body and the tail. If it helps, you can use sewing pins to mark the center stitches on top of the body. Watch this video tutorial for clearer instructions.
Starting in the Body and Tail Accent Color
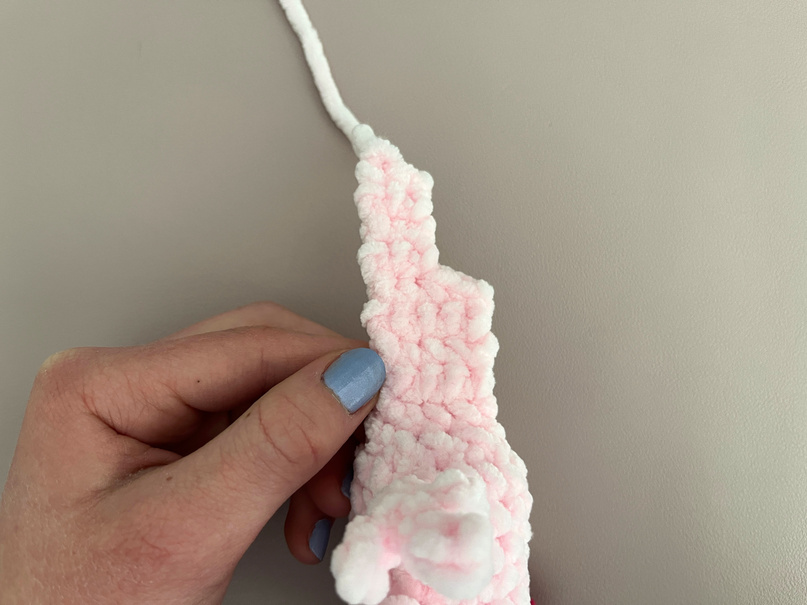
Insert your hook into the center-most stitch on the top of the body in between rounds 6 & 7. Pull up a loop and ch 1, make a sc back into that same st. Continue making sc's until you reach the tail. You should have a total of 9 sc.
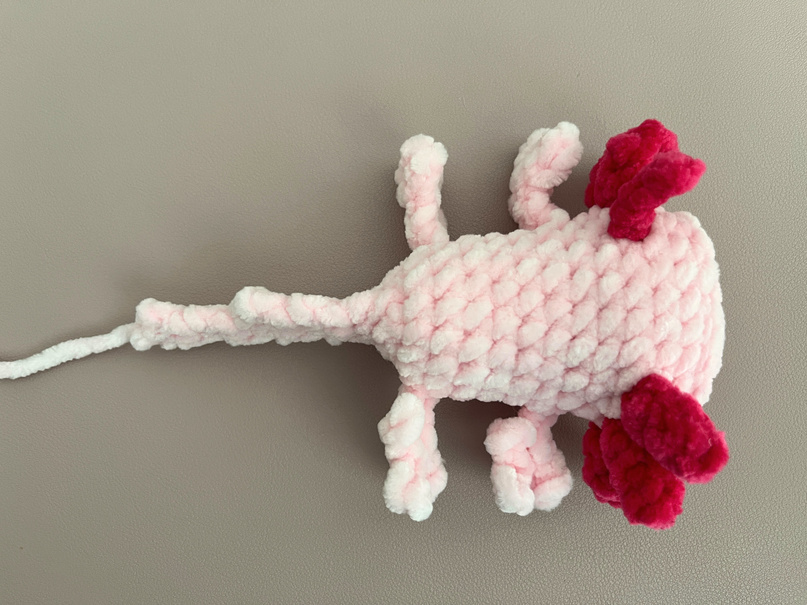
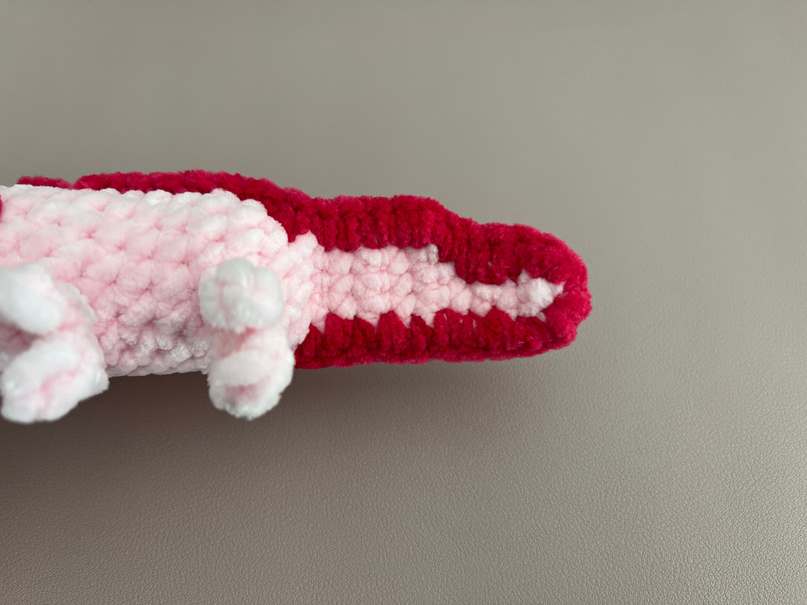
We will now begin working on the tail. Crochet over the tip of the rows and make 9 sc along the top of the tail, ensuring you also crochet into the remaining stitches going down from when there were tail stitches left unused.
Place 4 sc on the tip of the tail (an inc in each st).
We will now be crocheting over the yarn tail left over from the axolotl's tail. Cut the yarn tail when you have made a few stitches. Make 9 sc across the bottom of the tail. Make 1 more sc on the body.
FO and leave a long tail. Go back over the tail and weave the yarn through the backside of the stitches to cover up the messy look of the rows. Weave the yarn back into the plushie and FO the two yarn tails. Don't pull the yarn too tight otherwise it will cinch the tail.
The Eyes and Mouth
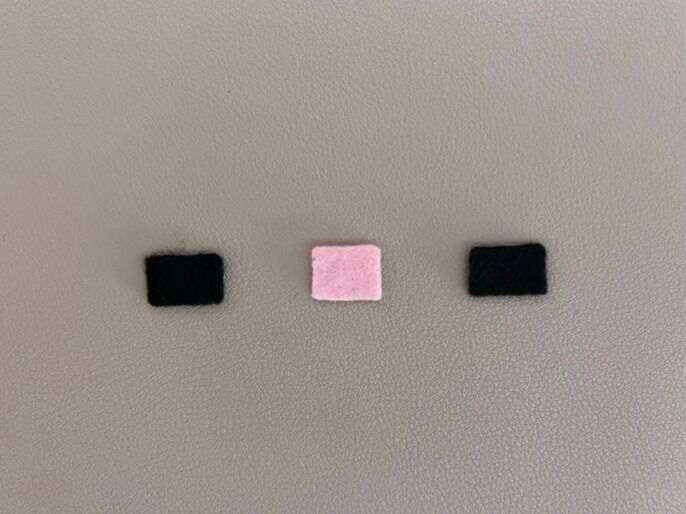
To make the eyes and mouth for the axolotl's face, I will be using acrylic felt. I cut my eyes and mouth out using my Cricut cutting machine but you can easily just cut them out with scissors. If you have a Cricut, this is the link to the template for cutting out the eyes. You can also print out this template that I've included for an outline.
If you used a different size yarn than I did and a different size hook, then I would recommend sizing up or down the size of the eyes.
After you have cut out the eyes and mouth, you can use tacky glue, hot glue, or another fabric glue of your choice for gluing the felt on to the face.
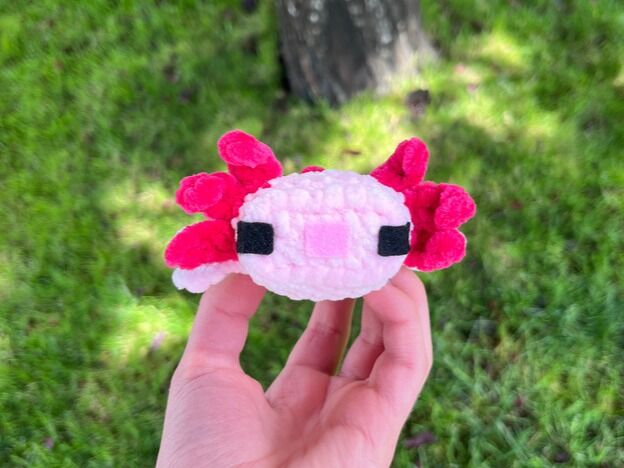
Glue the eyes on either side of the face as seen in the photos below. Make sure they are in line with the frills.
Glue the mouth in the center of the head with an even amount of space in between the eyes.
Tester Appreciation
A huge thank you to all my wonderful pattern testers! Go give them some love on Instagram.
Congratulations! You've finished!
I hope you enjoyed making this pattern! Please tag me in your Instagram posts: @sweetlyhannahmade #sweetlyhannahmadepattern
I can't wait to see your creations!
You may not sell or publish this pattern in any way. You may sell finished plushies created from this pattern but must tag me as the pattern designer (@sweetlyhannahmade).